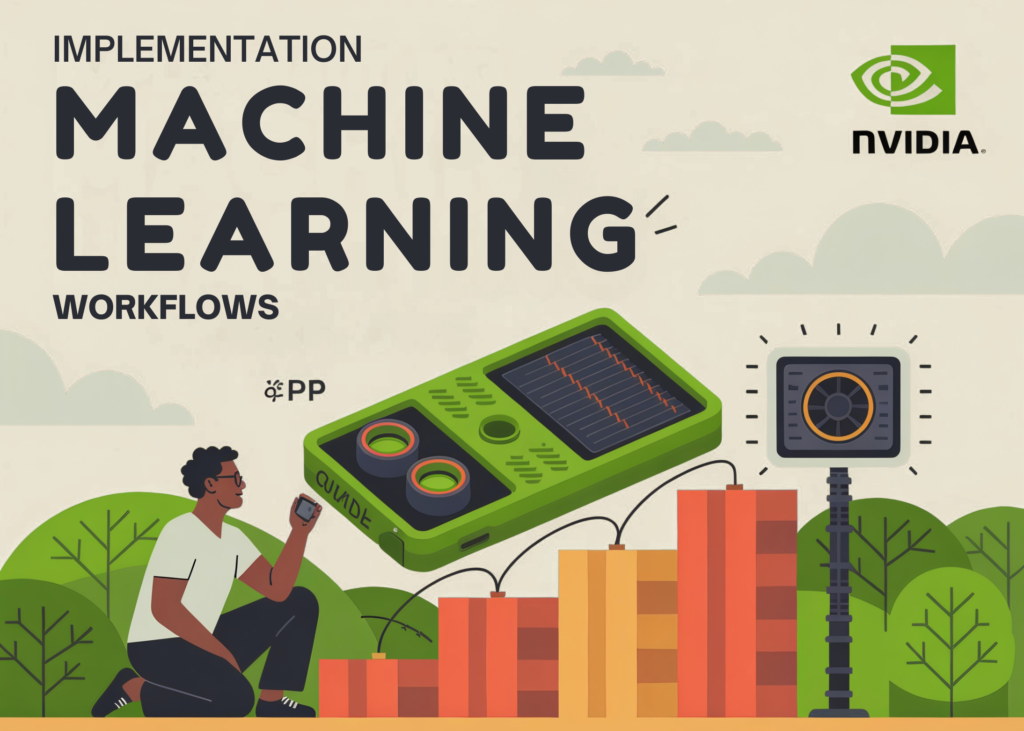
NVIDIA cuML now allows data scientists to run standard machine learning tasks on a GPU without rewriting their existing Python code. The framework bridges the gap between familiar scikit-learn workflows and the RAPIDS ecosystem, enabling direct interoperability with CuPy and cuDF.
Setting up the environment
The tutorial begins by checking for an NVIDIA GPU. If the system lacks one, the process stops immediately. Once confirmed, the code attempts to import cuML. If the library is missing, it installs the specific version matching the current cuDF environment from the NVIDIA PyPI index.
“No NVIDIA GPU found. In Colab: Runtime > Change runtime type > GPU.”
After installation, the system prints the versions of cuML, CuPy, cuDF, and scikit-learn. A critical requirement is noted: scikit-learn must be version 1.6 or higher for cuML to function.
Accelerating existing code
The first practical test uses cuml.accel. This tool takes a standard scikit-learn script and runs it on the GPU with almost no code changes. The example script performs PCA, K-Means clustering, nearest-neighbor search, Ridge regression, and positive Ridge regression.
Timing shows the difference between the stock CPU execution and the GPU-accelerated version. The output logs the model time for each step. For instance, a specific Ridge regression model with the positive=True argument falls back to the CPU, which the logs explain clearly.
Native API and data movement
Once the acceleration layer is understood, the workflow moves to the native cuML API. This section generates synthetic data using make_blobs directly on the GPU. The resulting arrays live on the device, indicated by their module type.
The code then tests interoperability between CuPy and cuDF. It prints the memory pointers for the data arrays. If the pointers match, the data transfer is zero-copy. This means the data does not move to the host CPU memory during processing, preserving the speed advantage.
“Keep output_type as CuPy/cuDF inside a pipeline; converting to NumPy on every step forces a device->host copy and eats the speedup.”
Users can control where the results land using the using_output_type context manager. By default, cuML keeps data on the GPU. The example shows how to force a conversion to NumPy if the final output must be a standard array, though this incurs a performance cost.
Benchmarking performance
The final section runs a suite of benchmarks comparing CPU and GPU implementations. The tasks include:
- Principal Component Analysis (PCA)
- K-Means clustering
- Nearest-neighbor search
- Logistic regression
- Random forests
- DBSCAN clustering
Timing is handled synchronously to ensure accurate measurements. The results are recorded in a list, showing the speedup factor for each task. For example, the nearest-neighbor search on 50,000 samples demonstrates a clear performance gain when running on the GPU.
What it means
The practical takeaway is that high-level data science tasks do not require rewriting code to run faster. A standard scikit-learn script can execute on a GPU, and the results can flow directly into GPU-native libraries like cuDF. This removes the friction of managing data transfers between CPU and GPU memory, allowing teams to scale existing models without changing their development workflow.