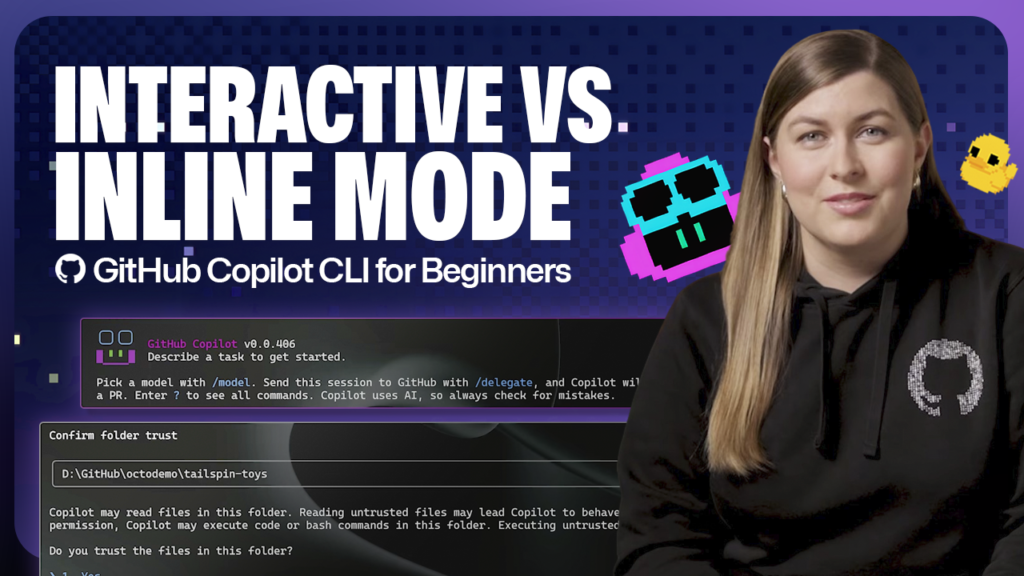
Welcome to GitHub Copilot CLI for Beginners! In this series (available in video and blog format), we’ll give you everything you need to get started using GitHub Copilot CLI, from your first prompt to tips for navigating the command line like a pro!
What is GitHub Copilot CLI interactive mode?
Interactive mode is a back-and-forth, chat-like experience. When you launch Copilot CLI with Copilot, you’re already in interactive mode-this is the default. Non-interactive mode is a separate option for when you want a quick, one-off answer without entering a session. (More on non-interactive mode later!)
In interactive mode, you can ask GitHub Copilot a question, review its response, and then either follow up with questions or another prompt-all within the same session. This is the mode for those who want to work hands-on with Copilot and iterate as you go.
- From the command line, type
copilotand hit Enter. - Copilot may ask you to trust this folder, because it needs permission to read and modify files.
- Ask Copilot a question, like “How do I run this project locally?”
- Copilot will give you instructions. You can execute them on your own, or if you want to work collaboratively, you can ask Copilot: “Can you run it for me?”
- Copilot will analyze your project and then start the server.
- We can review our project, decide what changes we want, and continue working with Copilot, all in the same session.
What is GitHub Copilot CLI non-interactive mode?
On the other hand, non-interactive mode is designed for speed and simplicity. Instead of having to enter a full session, you pass a single prompt right in the command line and get a response almost immediately, without needing to follow up with Copilot.
Designed as an in-line experience, this mode is perfect for quick, one-shot prompts like summarizing a repository, generating code snippets, or plugging Copilot into automated workflows, without leaving your shell context. Once you get an answer, you’re right back in your terminal flow.
- Start at the regular command line (if you’re in Copilot, you’ll need to exit).
- Type
copilot -pand prompt the agent with something like “Quickly summarize what this repository does and the key folders.” - Copilot will sift through your project files to provide an answer. Ta-da! ✨
Together, these two modes help you tackle all kinds of projects efficiently: interactive for explorative, deeper work, and non-interactive for fast, focused results when you already know exactly what you need.
How to resume a previous Copilot session
Sometimes, you may want to pick up right where you left off in a previous Copilot session, while retaining all the context from that conversation.
- If you’re in interactive mode, you can type
/resumeinto the command line and Copilot will let you choose a previous session from a list. If you want to launch directly into the previous session picker from non-interactive mode, usecopilot --resume. - It only takes one command to pick back up with Copilot, which is super useful if you already know what session you want to work in.
The post GitHub Copilot CLI for Beginners: Interactive v. non-interactive mode appeared first on The GitHub Blog.
Key Takeaways
- The interactive and non-interactive modes of the GitHub Copilot CLI offer different approaches to working with Copilot.
- Interactive mode is ideal for hands-on work, where multiple interactions are needed to complete a task.
- Non-interactive mode provides quick answers without requiring a full session, suitable for one-off tasks like code generation or repository summaries.
Looking to try GitHub Copilot CLI? Read the Docs and get started today.
More resources to explore:
- GitHub Copilot CLI for Beginners video series
- GitHub Copilot CLI for Beginners: Getting started with GitHub Copilot CLI
- GitHub Copilot CLI 101: how to use GitHub Copilot from the command line
- Best practices for GitHub Copilot CLI